
I was asked to repair a laptop of a coworkers — the screen was cracked. It was for a 15″ PowerBook G4, the aluminum variety. I had had prior experience with this sort of surgery, having replaced a hinge on my Powerbook G4, the titanium varietly. However, that surgery didn’t go nearly as well, since the Titanium PB’s LCDs were glued to the LCD, making replacement virtually impossible.
However, all indications on the net implied the aluminum PowerBooks LCDs were not glued to the bezel, making cosmetic replacement possible.
So began my journey. Having instructed my coworker to purchase an LCD from a 3rd party seller (Bliss Computers), I proceeded to remove the LCD and make sure the cables were intact. Using the excellent disassembly guides from ifixit, I had all the information I needed to remove the LCD housing from the laptop. From there I was on my own.
The basics of the display assembly are somewhat obvious. Two screws on the bottom of the LCD housing have to be removed. There is a dark grey plastic piece between the front bezel and back case of the LCD -> indicating two separate aluminum parts. ifixit carries these two parts, further indicating the nature of the assembly. That is, there must be some sort of plastic clip holding the bezel on.
What seemed the safest and easiest way to separate the assembly was to take a pocket knife and *carefully* press and pry to work the clips away from the bezel. The two shots below show the knife technique and the clips in the outer frame. Be careful not to bend the clips outward too much — there is the possibility the outer shell will deform.
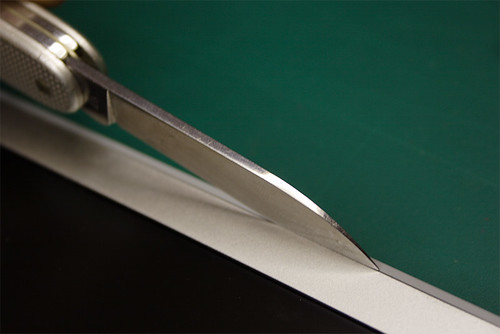 Canon 20D — Use a knife with a decent bit of heft – just don’t mar the plastic/aluminum. |
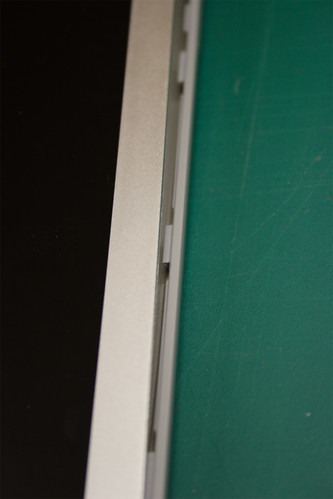 Canon 20D — These are the clips that hold the front bezel onto the PowerBook LCD. |
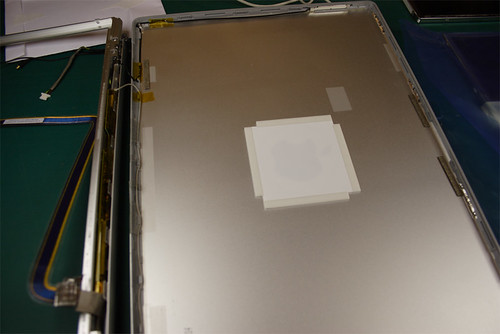
Once the parts are separated, the next goal is to remove the connectors and proceed to remove the LCD from the frame. I don’t have any good shots of the inverter board, but below is a pretty picture of the LCD connector.
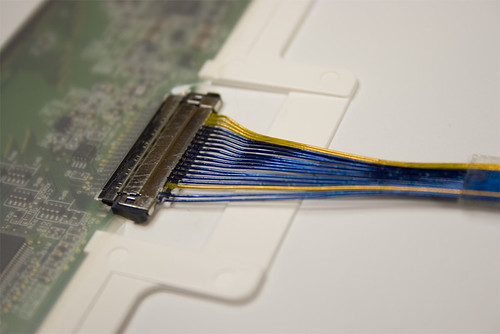 Canon 20D — Gratuitous LCD connector shot. I think this cable is a LVDS, though I am not sure, and didn’t look the specs up. |
There are several of the screws shown below that need to be taken out. Once they are removed, the only other thing to do is to detach the LCD front, bottom from the back of the bezel. It is held on with double-sided tape.
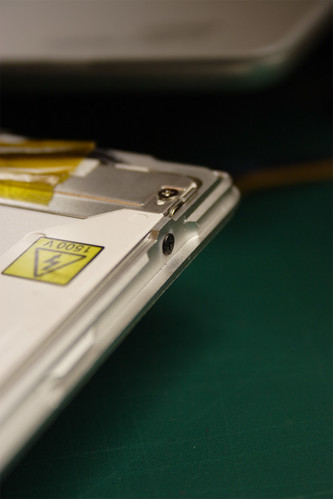 Canon 20D — There are several of these small black screws to remove from the LCD before it can be removed. |
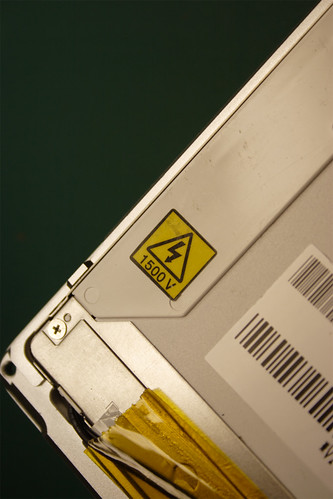 Canon 20D — Warning!!!! |
This is what you should see just before removing the LCD:
 Canon 20D — Gratuitous LCD shot. |
At this point, you should test the new LCD before reassembling the screen. It’s better to test first, otherwise you may find out you need to take the screen apart a second time.
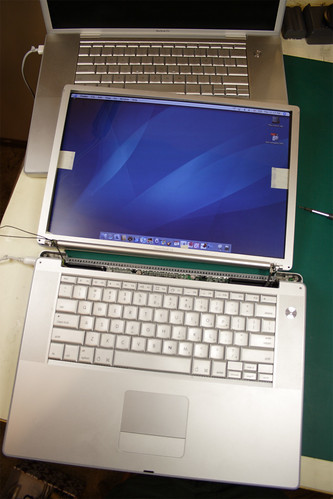 Canon 20D — It works!!! It’s always important to test a part before reassembling a laptop. Otherwise… you may end up taking it apart a second time. The LCD bezel hasn’t been pressed together yet. |
The last part of our operation is to change the color of the Apple. Since we’re in there, we might as well have some fun. This particular person wanted a red apple with green leaf. I got some colored gels normally used in theatre lighting, and got to work. The Apple in these laptops is a solid piece of clear frosted plastic, with a white diffuser foam taped to the back of the screen (which, if you think about it, adds a millimeter or two to the case thickness). Instead of permanently destroying the Apple by using a sharpie, I just taped the gels to the apple.
 Canon 20D — Ahhh! The diffuser for the Apple logo. |
 Canon 20D — Just slip a knife in the middle of the foam tape. Carefully slice this and an adjacent side to get to the Apple. |
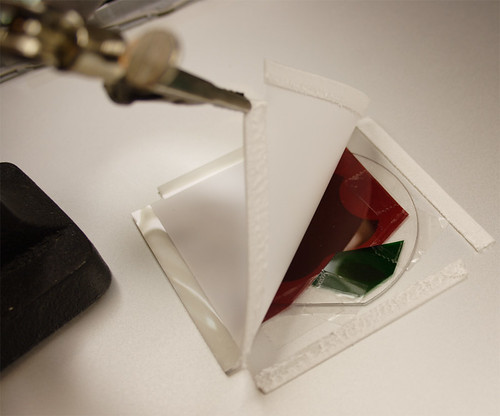 Canon 20D — It’s helpful to have some “helping hands” when doing this surgery. To keep the gels in pace, I used scotch tape — the useful life of the tape should outlast the useful life of the LCD backlight. Then, slit some double-stick tape in half and use that to “repair” the foam tape you slit earlier on. |
At this point, shine a light through the back to check your work (if you decide to color the apple). Once you are satisfied, repeat the steps backwards, check the LCD a second time to make sure it works, and reassemble the PowerBook.
 Canon 20D — Green and red Apple Apple Logo! Colored with gels normally used in stage lighting. |
I have some additional photos on my Flickr PowerBook G4 Al 15″ LCD disassembly photoset.
Haha great job!!